I'm not going to pretend that danishes are easy-peasy to make. They are actually quite time consuming and more labor intensive than many other recipes on Legacy Kitchen. BUT...they are delicious. In my opinion, they're well worth the effort. After you make them a few times, it gets much faster.
While cheese danishes might have a heavy time cost, they are overall fairly simple and impressive. They make for a wonderful brunch option, a gift for new neighbors, or a special occasion at the office.
Notes
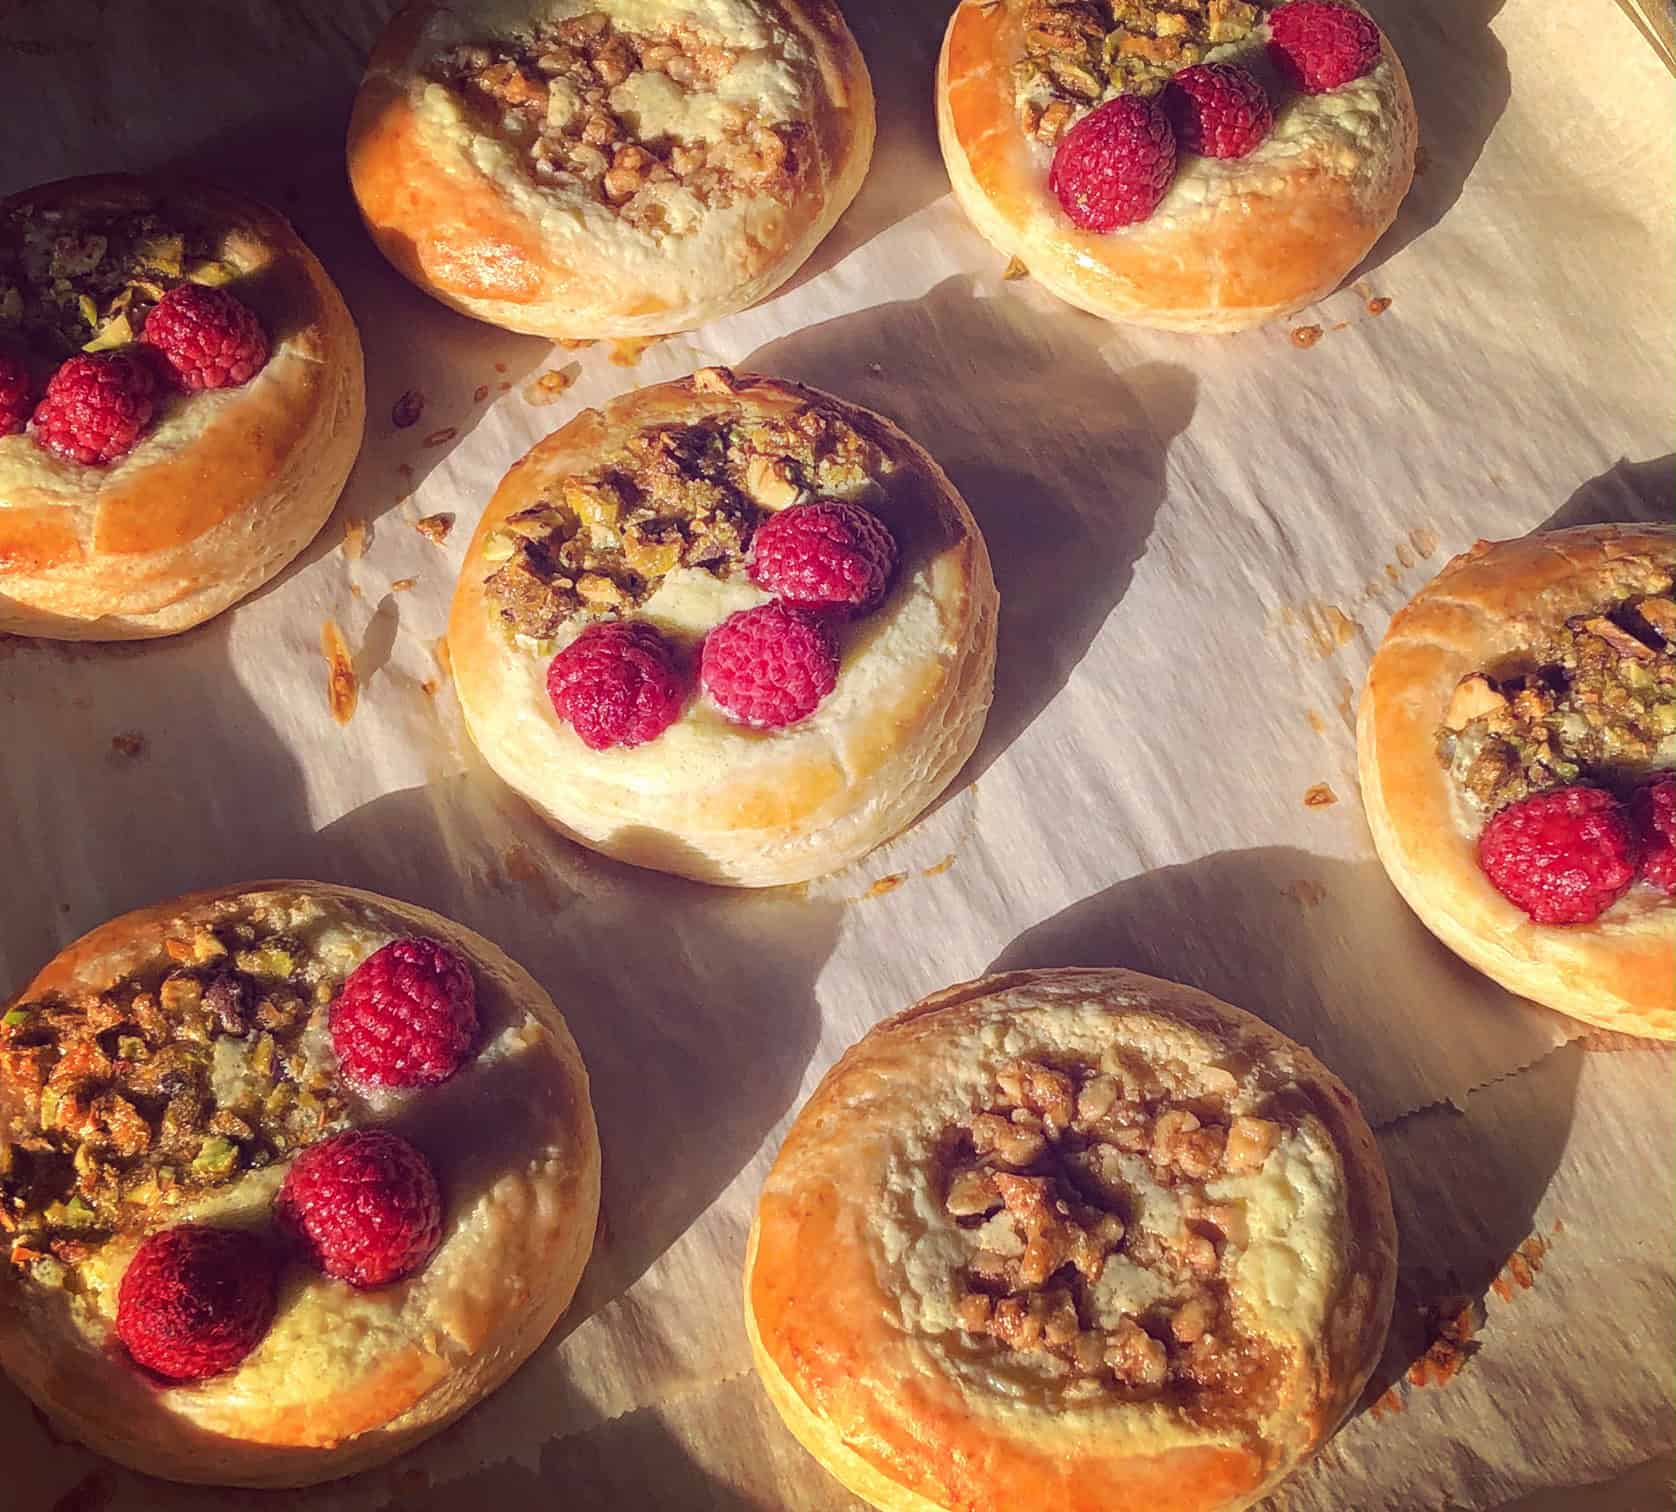
- Customization: I love danishes because they're endlessly customizable. You can switch up the honey-walnut filling and just use a dollop of whatever jam you have on hand. Fresh fruits are a great option too, like raspberries or peach slices. You can also swap out the walnuts for a different nut, like pistachios.
- Time Management: I always make my danishes later in the afternoon or in the evening, so they can rise overnight. That way all I have to do in the morning is the shaping, rising, and filling before they're ready to bake.
- Space Management: I find it helpful to prepare space in my refrigerator ahead of time. I know I'll need to be in and out of the cold with the dough and butter at times, and I always make sure I have enough space to fit the entire pan of danishes so they can rise. Sometimes that means balancing the pan on top of sour cream tubs and leftover tupperwares, but such is the life of a home cook.
Storage
You can store these in an airtight container at room temperature for 3-4 days. You can also freeze them in an airtight container or ziplock bag for up to 2 months. Just let them thaw slowly at room temperature before enjoying.
Related
Looking for other recipes like this? Try these:

Grace Says:
Don't stress if your butter or dough rectangles aren't perfect. Many young cooks get stuck looking for geometric perfection and forget that the butter and dough need to stay cold. Just quickly do your best and they will turn out great.
📖 Recipe

Honey-Walnut Cheese Danishes
Ingredients
Danish Dough
- 1 cup unsalted butter, cool
- 2 ¾ cups flour
- ⅛ cup granulated sugar
- 2 teaspoon active yeast
- 1 ¼ teaspoon salt
- ½ teaspoon cardamom
- ½ teaspoon vanilla
- ½ cup cold milk
- ¼ to ⅓ cup lukewarm water (Use the lesser amount in summer or humid climate, the greater amount in winter or dry climate)
- 1 large egg
Cheese Filling
- 1 egg + 1 yolk
- 8 oz softened cream cheese
- 3 T sugar
- 1 t lemon juice
- ¼ t vanilla
Honey-Walnut Topping
- 1 cup chopped walnuts, or other nut of choice
- 3 T brown sugar
- 2 T softened butter
- 2 T honey
- 1 t cinnamon
- ¼ t salt
Egg Wash
- 1 egg
- 1 t water
Instructions
- In a large bowl, whisk together the flour, sugar, yeast, salt, and cardamom.
- Cut ¼” off each end of the sticks of butter, resulting in about 2 tablespoons total. Set the rest of the butter aside.
- Add the 2 tablespoons butter to the flour mixture, rubbing it in until no large lumps remain.
- Add the vanilla, milk, water, and eggs to the flour mixture. In a mixer or by hand, combine the ingredients and knead to make a cohesive, but quite sticky dough. It should not take long to come together.
- Scrape the dough into a ball, and transfer it to a floured work surface. Cover it with plastic wrap, and let it rest for 10 minutes while you prepare the butter.
- The butter should still be cold, but malleable. If at any point your butter or dough seems too warm, refrigerate it for 15 minutes.
- Cut the sticks of butter in half, lengthwise. Then line them up, side by side, on a piece of floured parchment or plastic wrap to make one larger, flat layer of butter. Sprinkle the butter rectangle with flour and cover with another piece of parchment or plastic wrap. Gently roll the butter out until it forms one solid rectangle. It will be about 5x7" and ¼-1/2” thick. Set aside in a cool place, or in the fridge if it's starting to get warm.
- Roll the dough into a rectangle about 10x15”, adding a sprinkle of flour when you need it. Place the butter rectangle in the center of the dough, the short edge of the butter to the long edge of the dough. Fold one side of the dough over the top of the butter, followed by the other side.
- Roll out the dough and butter packet into a larger rectangle, approximately 10x20”. Then fold the ends in again the same way you did before. Wrap in plastic wrap and refrigerate for 20 minutes.
- Repeat, rolling and folding the packet out 2 more times. Refrigerate for 20 minutes in between each roll out, or work quickly so the dough does not warm up.
- Wrap the packet loosely in plastic wrap (so it has room to rise) and refrigerate for 2-18 hours. Longer times allow for more rise and better flavor. Overnight is a great option.
- When you’re ready to assemble your danishes, line a baking sheet with parchment paper and make the cream cheese filling. Whisk all ingredients in a bowl until smooth.
- Next prepare your honey-hickory topping. Mix all ingredients in a bowl until well combined.
- Pull the dough out of the fridge and cut off ⅓ at a time. Place the rest back in the fridge. To make round danishes, roll to ~½” thickness and cut out the circles with a 4" cookie cutter. Press down in the center of each circle, leaving the sidewalls higher than the middle. This will create a well to hold the filling.
- Place the shaped danishes on your baking pan covered with parchment. Repeat with the other ⅔ of dough. Cover loosely and set aside to rise for about 1 hour.
- After 1 hour of rising time, preheat the oven to 400℉. Mix the egg and water together for the egg wash.
- Press down the center of each danish again to deepen the well. Then fill with the cheese filling and top with the nut mixture. Brush the outer walls of the Danish with the egg glaze.
- Bake for 16-18 mins, or until golden brown. Remove from the oven and cool on a rack.



Did you make this recipe? Let me know!